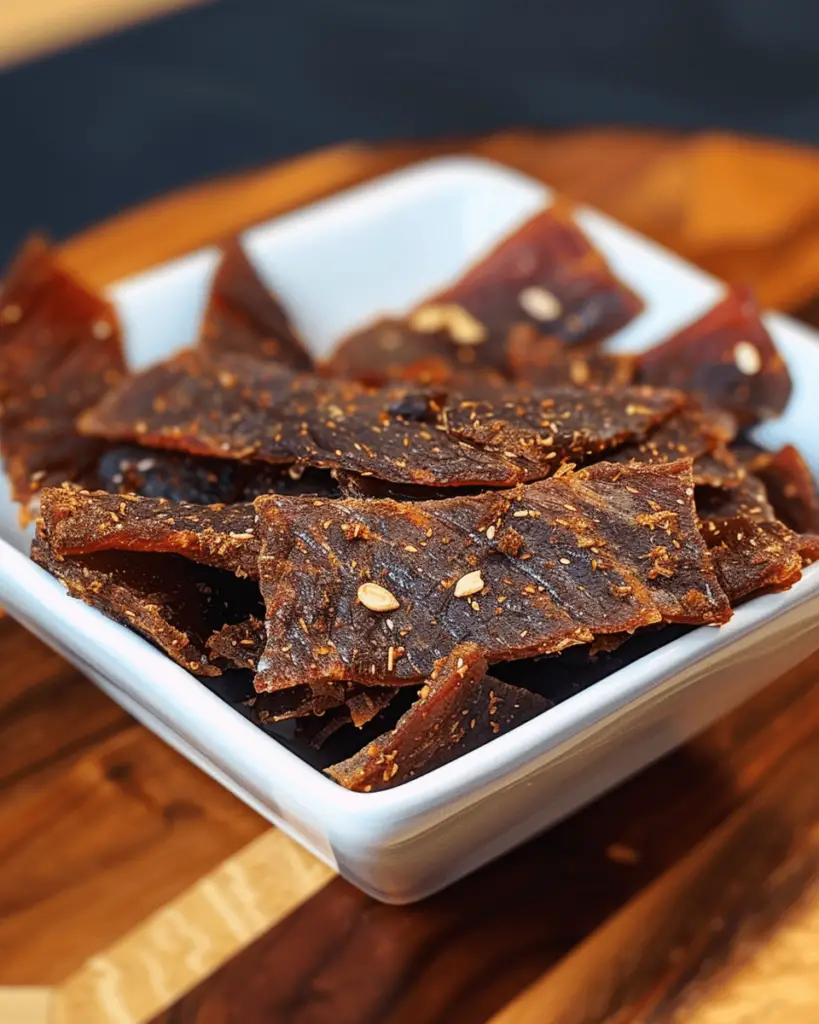
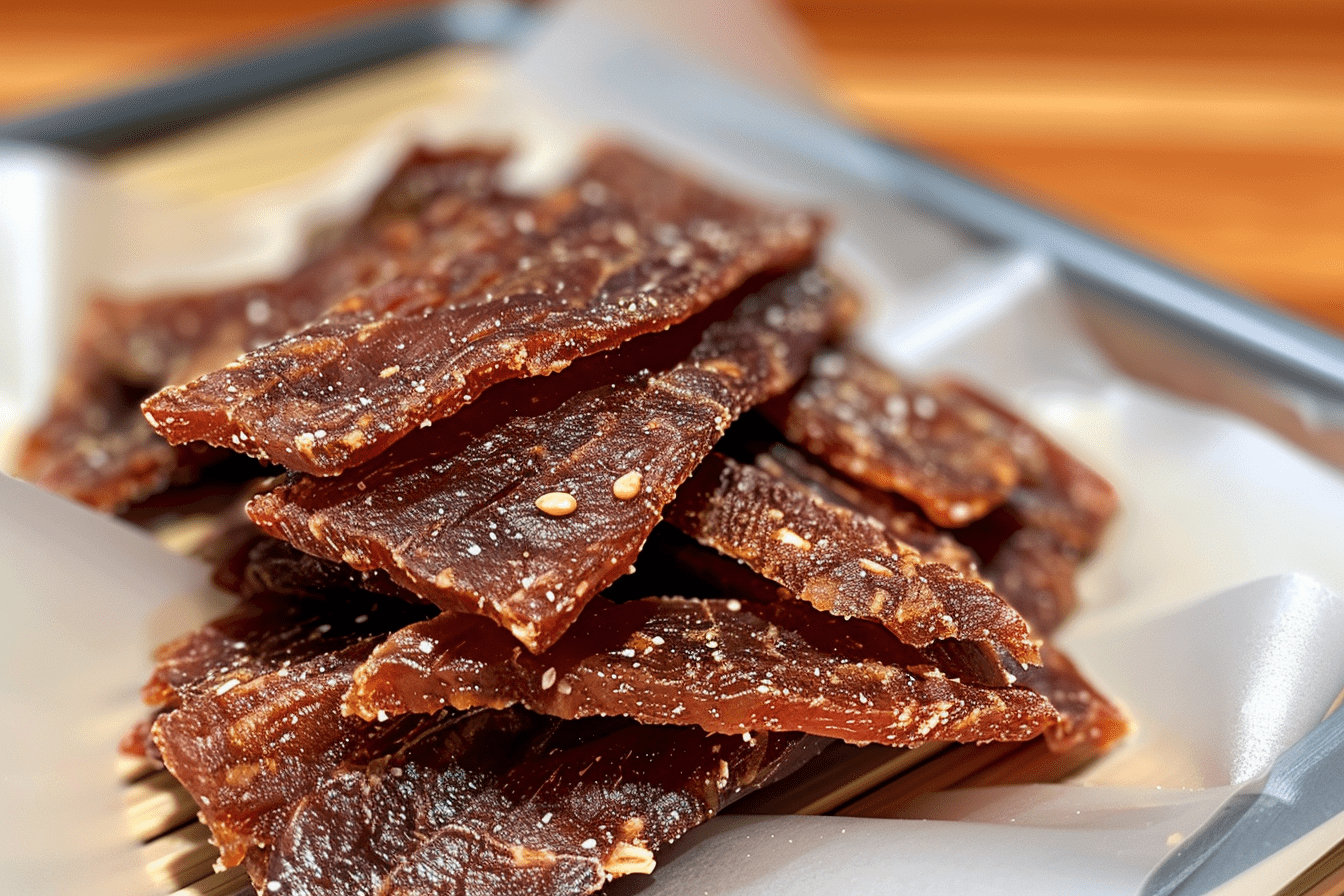
Ever wondered how to make ahi tuna jerky at home? My journey began during a camping trip when a friend shared his homemade jerky. The flavor and texture were amazing, and I knew I had to learn how to make it myself. Making your own ahi tuna jerky is simple and lets you control the ingredients, ensuring a fresh and natural snack. In this guide, we’ll show you how to select, marinate, and dehydrate ahi tuna for the perfect jerky. Whether you’re a cooking novice or a seasoned pro, you’ll find these steps easy to follow and rewarding. Let’s get started!
Selecting the Right Tuna
Choosing the right ahi tuna is crucial for making delicious jerky. Follow these tips to ensure you start with the best quality fish:
- Freshness is Key: Always opt for fresh, sushi-grade ahi tuna. This grade of fish is the highest quality, ensuring it’s safe to eat raw and ideal for making jerky. Look for tuna with a firm texture and a vibrant, deep red color. Fresh tuna should have a clean, ocean-like smell without any hint of fishiness.
- Visual Inspection: Check the tuna for any signs of discoloration or dryness. Bright, shiny flesh indicates freshness, while dull or brownish spots suggest the fish is past its prime. Also, avoid tuna with any bruising or damage on the flesh.
- Touch and Feel: The texture of the tuna should be firm and slightly springy. Press gently on the flesh; it should bounce back rather than leaving an indentation. This firmness indicates the tuna is fresh and has been handled properly.
- Smell Test: Fresh ahi tuna will have a neutral, slightly sweet ocean scent. If the fish smells overly fishy or sour, it’s best to pass. This could indicate spoilage or that the tuna is not of sushi-grade quality.
Preparing the Tuna
Preparing the tuna properly is essential for making great ahi tuna jerky. Follow these steps to get started:
- Slice the Tuna: Begin by slicing the ahi tuna into thin, uniform strips about 1/8 to 1/4 inch thick. Consistent thickness is crucial for even dehydration, ensuring that each piece dries at the same rate. A sharp knife will make this task easier and help maintain clean, even cuts.
- Rinse the Fillets: After slicing, rinse the tuna fillets under cold water. This helps remove any surface blood or debris, which can affect the taste and texture of your jerky.
- Pat Dry: Pat the tuna strips dry with paper towels. Removing excess moisture at this stage is important because it allows the marinade to adhere better to the fish and ensures the dehydration process starts efficiently.
- Pro Tip: If you find slicing the tuna challenging, try partially freezing it first. Slightly frozen tuna is firmer and easier to cut into thin, even slices.
Variations and Modifications
- Different Thickness: Depending on your preference, you can vary the thickness of the slices. Thicker slices will result in a chewier jerky, while thinner slices will be crispier.
- Other Fish Options: While ahi tuna is ideal, you can use other types of firm fish such as salmon or halibut for different flavor profiles.
Marinating for Flavor
Marinating your ahi tuna is a crucial step in making delicious jerky. Here’s a simple and flavorful marinade recipe to get you started:
- Gather Ingredients: You’ll need soy sauce, honey, garlic, and a few spices. Here’s a basic marinade recipe to follow:
- 1 cup soy sauce
- 1/4 cup honey
- 1 tablespoon Worcestershire sauce
- 2 tablespoons brown sugar
- 1 teaspoon garlic powder
- 1 teaspoon onion powder
- 1 teaspoon grated fresh ginger
- Optional: 1 teaspoon hot sauce or 1/2 teaspoon chili flakes for a spicy kick.
- Prepare the Marinade: In a mixing bowl, combine the soy sauce, honey, Worcestershire sauce, brown sugar, garlic powder, onion powder, and grated ginger. Whisk until the ingredients are well blended. If you like your jerky with a bit of heat, add hot sauce or chili flakes to the mix.
- Marinate the Tuna: Place the sliced tuna strips into a large resealable plastic bag or a shallow dish. Pour the marinade over the tuna, ensuring all the pieces are well coated. Seal the bag or cover the dish and refrigerate for 6-24 hours. The longer the tuna marinates, the more flavorful it will be. Turn the bag or stir the tuna occasionally to make sure the marinade is evenly distributed.
Practical Tips and Variations
- Even Coating: Make sure each strip of tuna is fully submerged in the marinade for even flavor absorption.
- Flavor Variations: Feel free to experiment with different ingredients in your marinade. For a sweeter jerky, increase the amount of honey or add some maple syrup. For a more savory flavor, try adding a splash of teriyaki sauce.
- Herb Infusion: Fresh herbs like cilantro or basil can add a unique flavor to your marinade. Simply chop and add them to the mixture.

Dehydration Process
The dehydration process transforms your ahi tuna strips into delicious jerky. Follow these steps to ensure perfect results every time:
- Preheat the Dehydrator or Oven: Set your dehydrator to 130°F. For an oven, set it to the lowest possible temperature, typically around 150°F. Preheating ensures the drying process starts immediately once the tuna is in.
- Arrange the Tuna Strips: Lay the marinated tuna strips on the dehydrator trays or oven racks. Make sure the strips don’t touch each other to allow proper airflow. This spacing ensures even drying, preventing some pieces from becoming overly dry while others remain moist.
- Dehydrating the Tuna:
- Using a Dehydrator: Place the trays in the dehydrator and set the timer for 4-6 hours. Check the jerky periodically, especially as it nears the end of the drying time. The jerky should be dry yet slightly pliable, not brittle.
- Using an Oven: Place the oven racks in the oven, leaving the door slightly ajar to allow moisture to escape. This maintains airflow and consistent drying. The drying process in an oven also takes about 4-6 hours. Use an oven thermometer to ensure the temperature stays consistent.
- Check for Doneness: Remove a piece of jerky and let it cool to room temperature. Bend the jerky; it should crack but not break completely. This indicates the jerky is sufficiently dried but still retains some moisture, giving it a chewy texture.
Testing and Storing the Jerky
Properly testing and storing your ahi tuna jerky ensures it stays fresh and delicious. Follow these steps for best results:
- Test the Jerky: Remove a piece of jerky and let it cool to room temperature. Bend the jerky; it should crack slightly without breaking entirely. This indicates that it is sufficiently dried but still retains some moisture, giving it a chewy texture.
- Cool Completely: Allow all the jerky pieces to cool completely to room temperature. This step is crucial to prevent condensation inside the storage container, which can lead to mold growth.
- Store in an Airtight Container: Place the cooled jerky in an airtight container. This prevents exposure to air and moisture, which can degrade the quality of the jerky over time. For added freshness, you can include a food-grade desiccant packet to absorb any residual moisture.
- Vacuum-Sealing for Longer Shelf Life: For longer shelf life, consider vacuum-sealing the jerky. Vacuum-sealing removes air, which helps to preserve the jerky’s texture and flavor for a more extended period. Store vacuum-sealed jerky in the refrigerator for up to several weeks or in the freezer for several months.
FAQs
What is Ahi Tuna Jerky?
Ahi tuna jerky is a dried and seasoned snack made from thinly sliced ahi tuna that has been marinated and dehydrated. It’s a protein-rich treat that combines the delicious flavors of the marinade with the natural taste of the tuna, offering a chewy, savory experience perfect for on-the-go snacking.
How is Tuna Jerky different from Beef Jerky?
While both tuna jerky and beef jerky are dried, seasoned meat snacks, they differ significantly in taste, texture, and nutritional content. Tuna jerky has a distinct seafood flavor and is typically leaner than beef jerky, making it lower in fat. The texture of tuna jerky is often softer and less chewy compared to the more fibrous beef jerky. Additionally, tuna jerky tends to be richer in omega-3 fatty acids, which contribute to cardiovascular health.
Can I make Tuna Jerky at home?
Absolutely! Making tuna jerky at home is straightforward. You need fresh, sushi-grade ahi tuna, a flavorful marinade, and a dehydrator or oven. Slice the tuna, marinate it for several hours, and then dehydrate it until it reaches the desired texture. This process allows you to customize the flavors and ensure a healthy, preservative-free snack.
How long does it take to make Tuna Jerky?
The process of making tuna jerky typically takes between 6 to 24 hours. Marinating the tuna strips takes 6-24 hours to allow the flavors to penetrate deeply. The dehydration process then takes an additional 4-6 hours, depending on the thickness of the strips and the method used (dehydrator or oven).
Is Tuna Jerky healthy?
Yes, tuna jerky is a healthy snack option. It’s high in protein, low in fat, and rich in essential nutrients like omega-3 fatty acids. These acids are beneficial for maintaining heart health. Additionally, homemade tuna jerky can be made without preservatives and excessive sodium, making it a healthier alternative to store-bought jerky.
Conclusion
Making ahi tuna jerky at home is a fun and rewarding way to enjoy a healthy, protein-packed snack. By following our guide, you can create delicious jerky tailored to your taste preferences, free from preservatives and artificial ingredients. Whether you’re an outdoor enthusiast looking for a portable snack, a fitness buff seeking a high-protein treat, or simply a food lover eager to try something new, ahi tuna jerky is a perfect choice.
Why not give it a try this weekend? Gather your ingredients, follow the steps, and enjoy the satisfying process of making your own jerky. Once you’ve tasted your homemade creation, you’ll never want to go back to store-bought options.
If you have any questions or want to share your jerky-making experiences, leave a comment below. We’d love to hear from you! Don’t forget to follow our blog for more recipes and tips on healthy homemade snacks. Happy jerky-making!


1 thought on “How to Make Ahi Tuna Jerky ?”